Inside: We all have those areas that could use a deep cleaning that we tend to avoid. Use these ten tricks to clean the toughest spots in your house.
A guest post by Rose Morrison
Cleaning a house can be challenging to manage when you have so many spaces you need to pay attention to.
The toughest spots to clean in your home might be the areas you’ve forgotten about or can’t reach easily. Often, these spaces are ignored when people do routine cleanings.
They deserve a little attention, though – both for your home’s benefit and yours! Then, you’ll be able to feel comfortable and relaxed in a completely clean house.
Here’s where to focus your efforts to clean the toughest spots in your house.

10 Tricks to Clean the Toughest Spots in the House
Once you’re motivated to do some cleaning you can use these tips to clean the toughest spots in your house!
1. Tops of Cabinets
Grab a sturdy chair and get ready to clean the tops of your cabinets. If your cabinets don’t reach the ceiling, you know there’s bound to be dust up there.
A microfiber cloth or conventional duster should be able to wipe the area clean, but if you have tricky dust that’s caked onto your cabinets, spray a mild cleaning solution on it.
Let the solution sit for a few minutes before wiping it up. The tops of your cabinets should look good as new afterward.

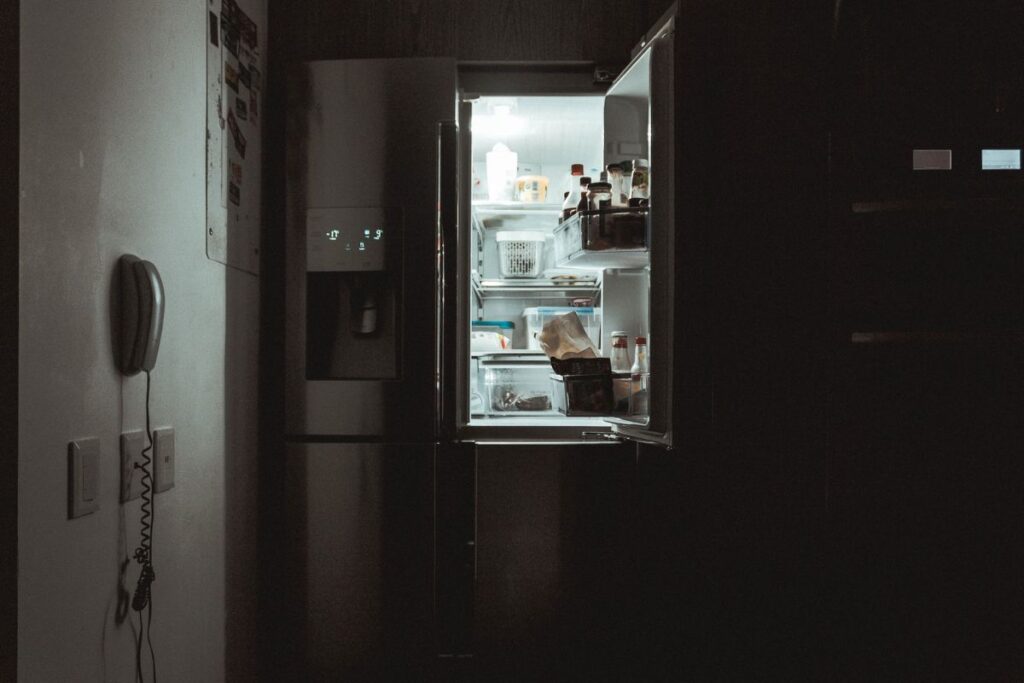
2. Behind the Fridge
Whenever you’re doing a fridge refresh, you should clean behind your refrigerator to remove all the dust, which might also affect your condenser coils.
You might be paying more than necessary on your energy bills if the condenser coil is filled with dust. It can also end up damaging your refrigerator.
Make sure your fridge is unplugged before you attempt to clean anything behind it. Also, don’t try to move your refrigerator by yourself. Enlist help to thoroughly clean your fridge, both inside and out.
3. Basement
Just because it’s unfinished doesn’t mean you don’t have to clean it! Cleaning your basement regularly now is the key to preparing for any projects in the future.
Make sure to routinely go downstairs and dust away any cobwebs and deal with any pests you find.
When you clean the area, make sure you don’t leave any standing water. Mold and mildew can easily build up in a dark, cool place like an unfinished basement.
You can include a dehumidifier in your summer routine cleaning, which can take some of the humidity out of the air and make the environment less ideal for mold growth.

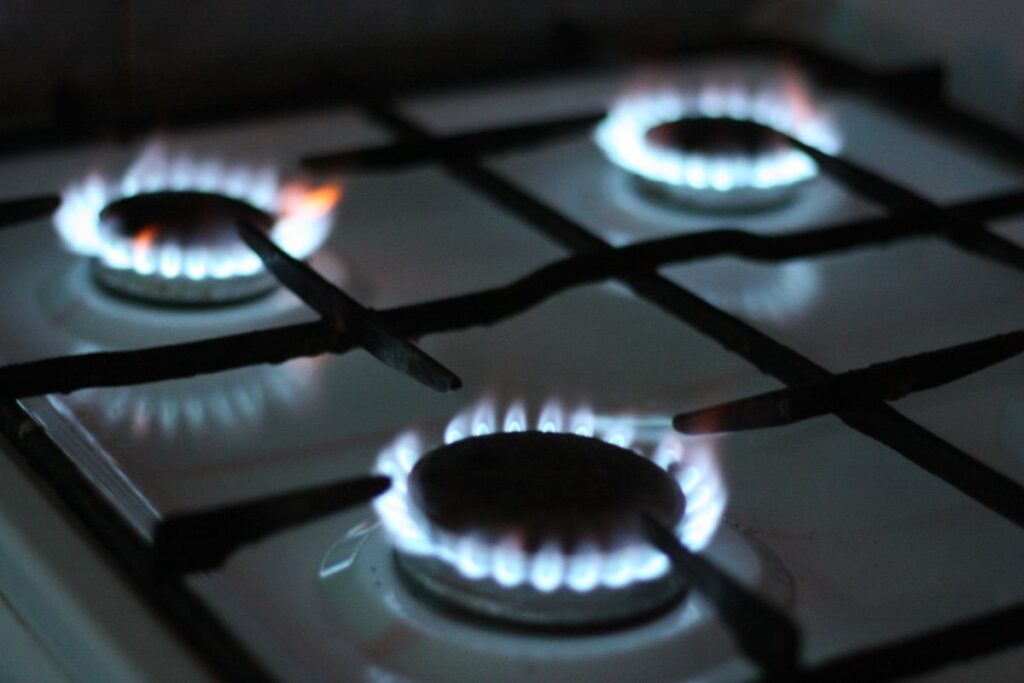
4. Around the Stove
You should wait for your stove to cool off before you tackle any mess created while making dinner. While paper towels might work well to absorb any liquid mess, they may only withstand a few wipes.
Choose something more robust, like a microfiber cloth or a cotton rag. They should be strong enough to clean up a mess that has been freshly cooled.
If you have more grime caked onto your stove, put some soapy water on the scraps. Once they soften, you should be able to wipe them away.
Remember to remove any detachable parts of your stove that will allow you to reach nooks and crannies better. Follow up any cleaning with your favorite stovetop cleaner or polish if you want it to sparkle.
And your oven too!
Your oven also deserves some attention. Be sure to clean the inside thoroughly, especially if you see any food burnt or caked onto its surfaces. Cleaning inside the crevices is crucial in all ovens, but older models might be even trickier to clean.
If you don’t want to bother with scrubbing, you can create a paste of liquid soap and baking soda. Brush it onto the problem areas and let it sit overnight before wiping it away the next day.

5. Bathroom Crevices
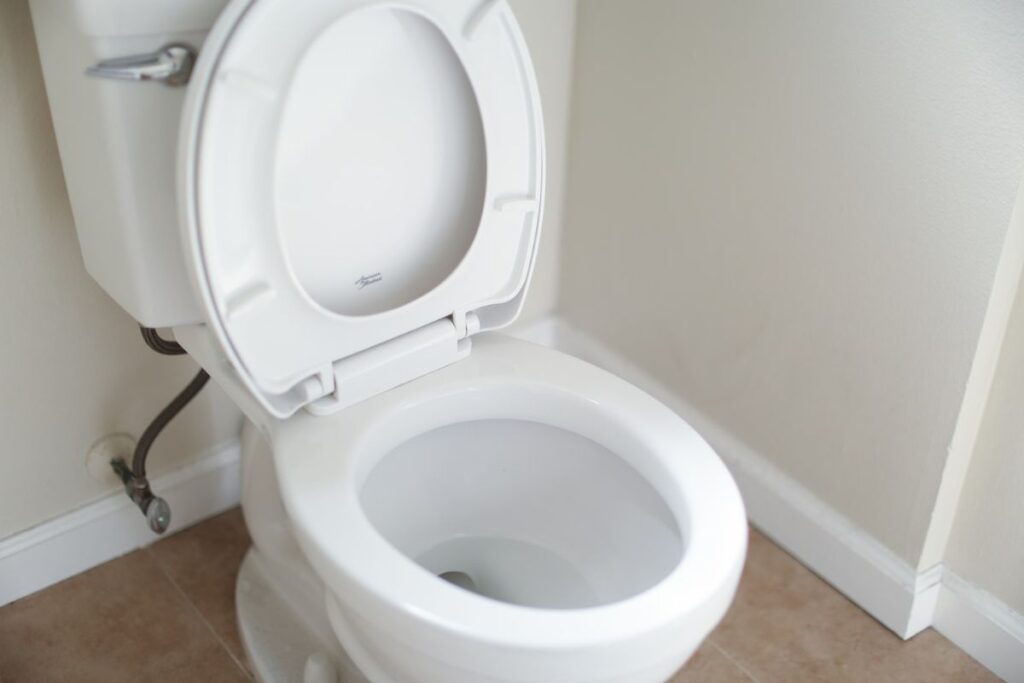
Cleaning the toilet is pretty easy for most people. You tackle the toilet bowl with chemicals or a half-cup of vinegar to let it soak. If you have hard water stains, a pumice stone is a helpful cleaning tool.
Then, scrub it until it’s sparkling and use disinfectant wipes (or spray with a rag) outside the toilet. The other areas of your bathroom, where it’s hard to reach, are another story.
Try cleaning behind the toilet by hand first. Use an all-purpose cleaner or disinfectant of your choice and reach back there with your arm and a cloth.
After you scrub the area by hand, you can bring in a mop. Mops don’t always get all the crevices, so it’s vital to clean the area by hand first.
Cleaning grout is one of the most challenging chores you’ll tackle. While you don’t have to do it every time you clean your house, scrubbing your grout and floors may make your bathroom look even cleaner than you thought possible.
First, you’ll want to remove what you can from your floors with a towel and warm water. After you’re done, rely on a brush with firm bristles to help you scrub away the dirt in your grout and on your tiles.
You should let your cleaning agents sit for a while before you begin scrubbing the grout. In no time, you’ll have sparkling floors.

6. Under the Furniture
Cleaning under your furniture can be tricky. Usually, you’ll have to end up moving the furniture, especially if it’s shaped awkwardly.
Try to get what you can with a vacuum hose before moving the furniture and get creative with how you reach certain areas. Can you lift a footrest and suddenly reach everything?
If you can’t reach every spot, you might have to move the furniture. If you have furniture with legs and can see directly under the couch or chair, you should be able to reach it with a vacuum or vacuum attachment.
Bulkier furniture might require a little more pushing around before you can get the area underneath and around it clean.

7. Above the Lights
Many people are used to wiping the fan blades clean, but only a few people focus on the lights attached to the fans.
They also need attention, and it can even be dangerous to ignore them. An accumulation of dust on your lights can potentially start a house fire, so you want to dust your light fixtures regularly.
Make sure the light is turned off before you try to clean it. Take a damp cloth and your hand and wipe around every surface of the light.
Your hand has more flexibility than a duster, so it’s ideal to reach the crevices. If one of your lights has a cover, remove it and soak it in soap and water to loosen the caked-on dust.

8. All the Rugs
Rugs and carpets can be difficult to clean, but you can do it. If your rug can tolerate a spin in the washing machine, let it run and hang it to dry.
Always follow the care instructions for your rug so you don’t accidentally ruin it. For carpets, you can shampoo them yourself or hire a professional for the job – that should lift the dirt out of them.
For more targeted cleaning, you should learn how to remove stains from your carpet and rugs. Water is an essential part of stain removal, but it often needs supplemental products to help it eliminate stains.
A couple of teaspoons of vinegar added to two cups of water might be able to lift many stains. If it doesn’t work on its own, try creating a paste by adding baking soda to the stain, then saturating it with the mixture.
Remember, time is of the essence. The sooner you deal with a stain, the more likely it is that you’ll eliminate it.

9. Under the Beds
You may have a lot of beds in your home that are ready for thorough cleanings. While you may know to rotate your mattress and clean it every so often, you should also prioritize the space under the bed – whether it’s completely empty or being used for storage.
If it’s difficult for you to get down to clean your bed, consider using a cleaning tool with a long handle, like a duster or a broom, and putting a dusting cloth on the end.
Once you loosen all the dust under your bed, try to go under it with a vacuum to suck up all the dust bunnies left behind. Most vacuums come with attachments that should allow you to reach tight spaces.
If all else fails, have someone help you move the beds so you can vacuum under them.

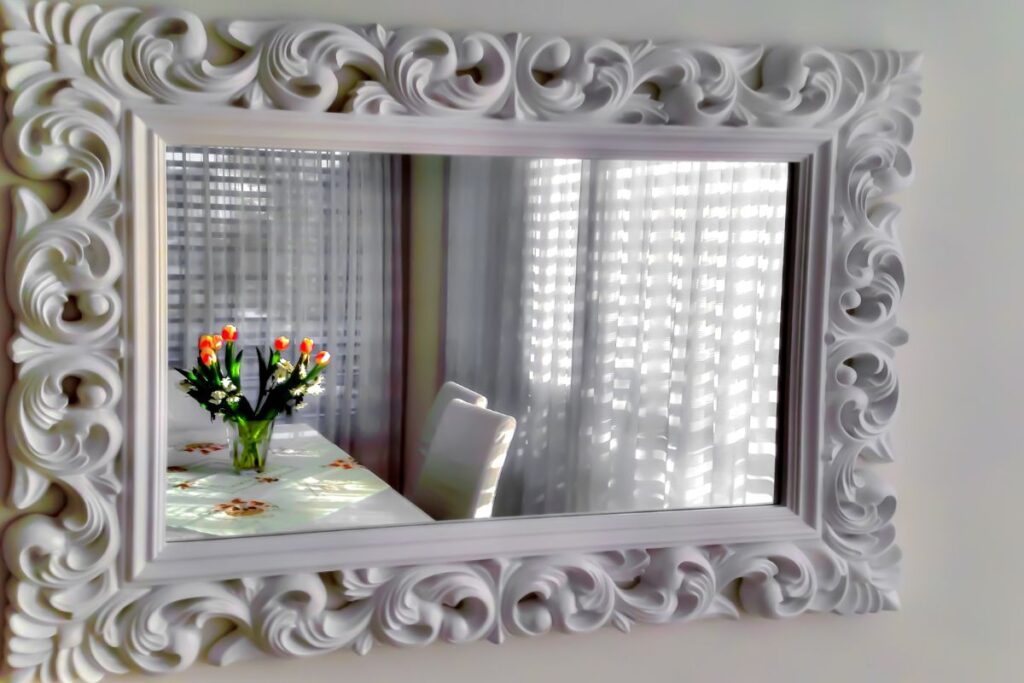
10. Windows and Mirrors
It can be challenging to get a streak-free appearance on your windows and mirrors. First, you’ll want to focus on the problem spots.
Once you deal with any stains on the surface, you can clean it more easily. Alongside your favorite window cleaner, use a microfiber cloth that won’t leave streaks or bits behind like a rag would.
You should always strive to keep your reflective surfaces clean. Mirrors are a great way to make your space appear larger, but they might not reflect light as well when they’re dirty.
Wipe the surface down in broad strokes, from top to bottom, then left to right. When done correctly, you’ll be left with a streak-free shine.

Keep Your Home Sparkling as You Clean the Toughest Spots in Your House
It’s unrealistic to aim for a constantly spotless home. Your house is lived in, and you make many great memories while making messes. Don’t fear making a mess – knowing how to clean every inch of your home can help you understand that everything is temporary, including dirt.
Create a cleaning routine so you know that your home will stay clean and you’ll have less work to do overall. You’ll be able to truly enjoy your home once you feel comfortable inside it.
Ready to clean the toughest spots in your house? Let us know how it goes in the comments section!
Sign up on the form below to get weekly tips on decluttering and simplifying sent straight to your inbox! You’ll also receive the free Cleaning Checklist because marking off boxes is fun!


Don’t forget baseboards, especially behind doors that get left open most of the time.
After you clean the tops of cabinets, cover the tops with wax paper. Next time you can just change out the wax paper.
All excellent advice, except for using vinegar and baking soda together, because they mutually cancel their benefits the former being acido and the latter the opposite.